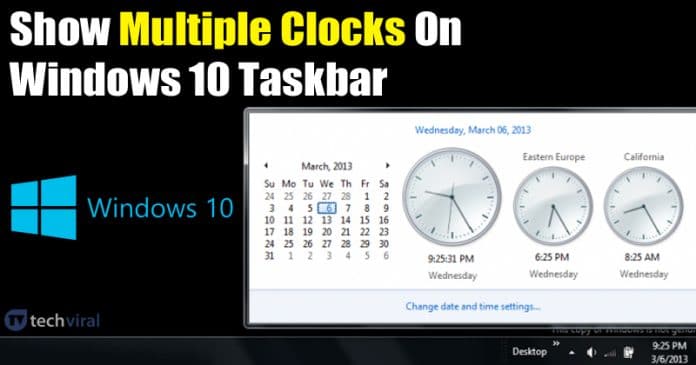
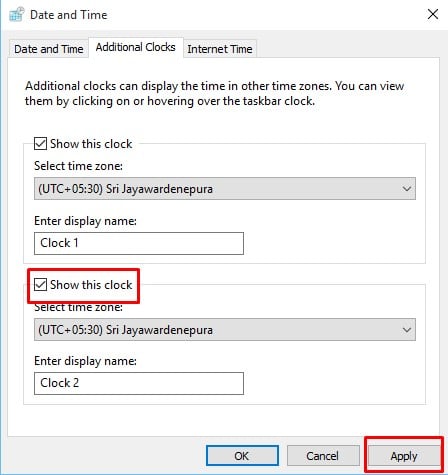
Windows 10 operating system allows users to configure three different clocks – the one is for local time, two additional for different time zones. The great thing is that you can view all these different clocks right from the taskbar. Setting up multiple time zone clocks on Windows 10 PC might look complicated at first glance, but trust us, it’s pretty easy. So, in this article, we are going to share a working method to add multiple clocks on Windows 10 PC.
How to Add Multiple Clocks on Windows 10 Taskbar
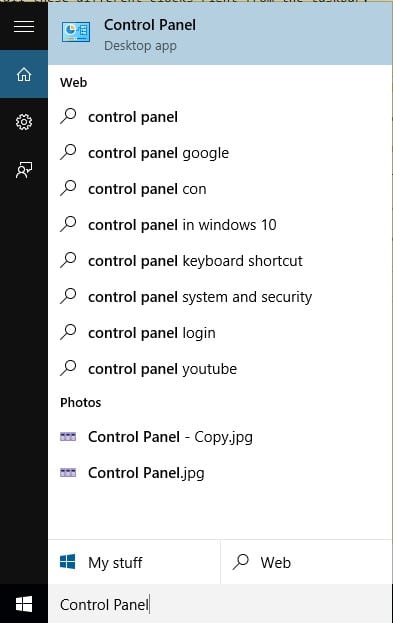
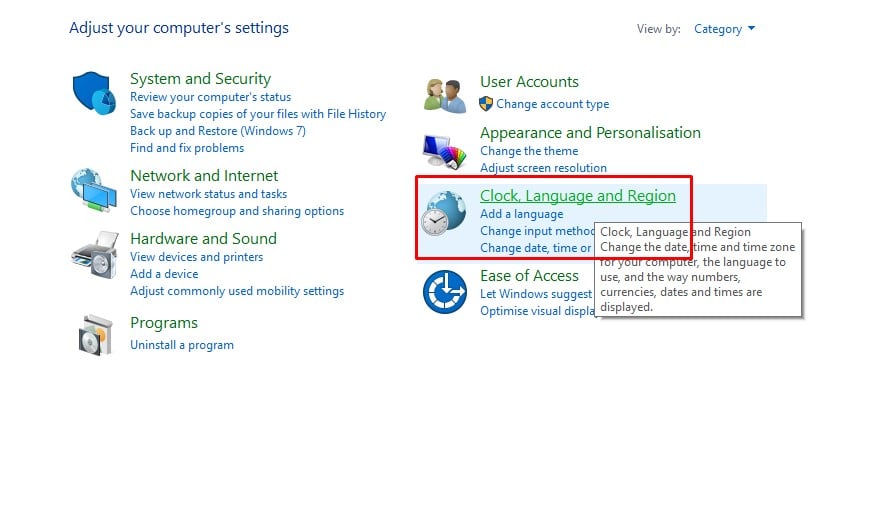
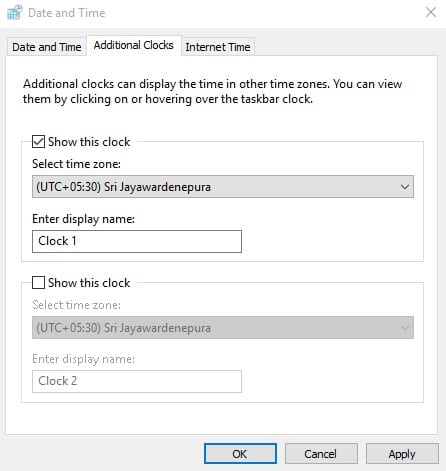
Please note that the local time will set as per your selected region. However, to set the additional two-time clocks, you need to configure entirely different timezone/regions. So, let’s check out how to add multiple clocks to the taskbar. Step 1. First of all, open Control Panel on your Windows 10 PC. For that, open the Windows search bar and search for Control Panel. Open Control Panel from the list. Step 2. From the control panel, click on the ‘Clock and Region’ option. Step 3. Under the Clock and Region, select ‘Date and Time’ and select ‘Add clocks for different time zones’ Step 4. Check the ‘Show this clock’ checkbox and select the time zone which you want to add. Step 5. If you want to add another clock, check the second checkbox ‘Show this clock’ and set the time zone. Finally, click on ‘Apply’ to make the changes. That’s it! You are done. This is how you can add multiple clocks on your Windows 10 PC. Also Read: Windows 10 Free Download Full Version 32 or 64 Bit (2020) So, this is all about how to add multiple clocks on Windows 10 PC. I hope this article helped you! Share it with your friends also. If you have any doubts related to this, let us know in the comment box below.
Δ
